
Home remodeling projects aren’t usually simple, but instead, they require some planning and a lot of work. This is especially true when it comes to big projects that can last for quite some time. Planning and preparation process is crucial in this type of situation since you have to ensure that everything turns out perfectly, but also, you have to find a way to continue living in the house and not disturb this process in any way.
Painting the exterior of your house is definitely one of these tasks. It might seem quite simple – all have to go is get some brushes and choose a color. Well, it is much complicated than this. Don’t worry because, in the following article, we will take you through each step and provide you with some useful tips.
1. Clean thoroughly
Yes, there is a step you should take before you even open that can of color. Basically, before you start any work, you have to clean the walls meticulously. You have to prepare the surface, remove all the debris to make it near perfect so that the color would bond smoother.
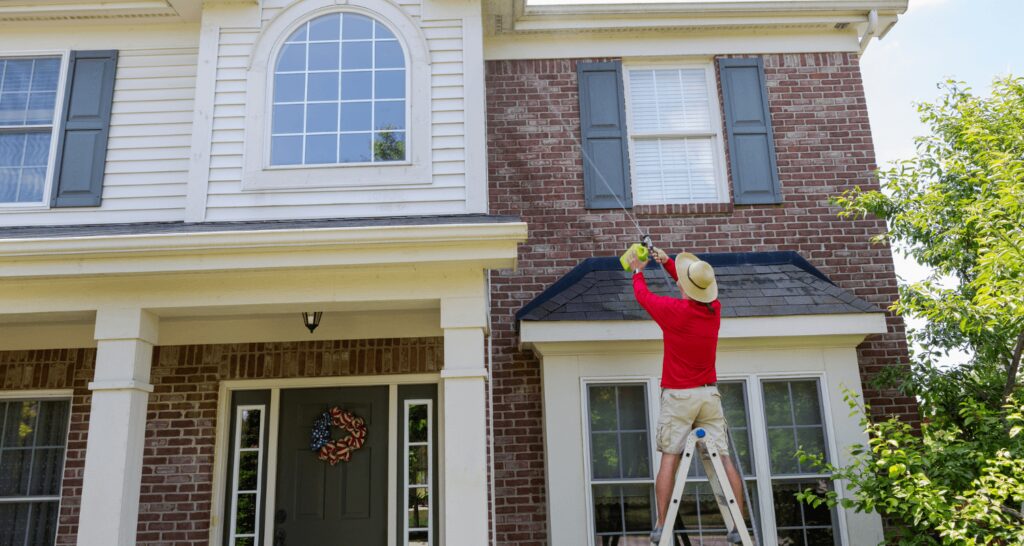
Our advice is to use a pressure washer. If you don’t have one of these, you can always rent it. The cost of it is not too high, and believe us, it is a valuable tool in this process. Next on, make sure to get rid of all the imperfections. We are not only talking about dirt, but also any decaying timber, and you have to fill out all the voids if there are any. There is no point in applying a fresh coat of paint if there are some damages to the exterior of your home. You must deal with these issues first.
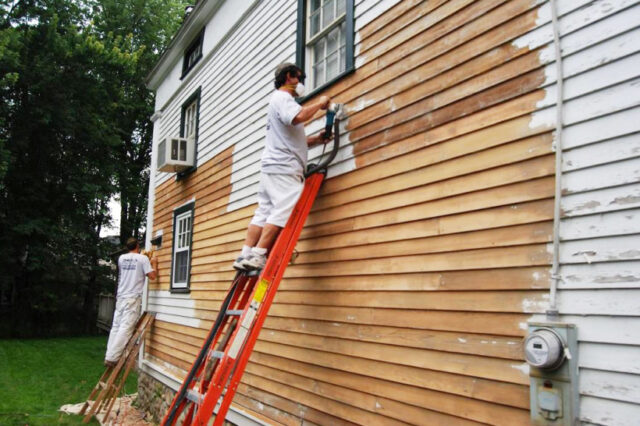
2. It is time for scraping
Once you clean everything and let it dry for a day or two, it is time to scrape the existing color. Naturally, we are talking about flaking paint. If you skip this step, you won’t be able to paint the house efficiently. What’s more, if you start this job before the surface has completely dried, you will only make things worse because you will only cause more flaking paint once everything is done. Remember when we said that this is a large project that requires a lot of time? This is what we were talking about. So take your time, plan everything down to the last detail, get the essential tools, and start working on this step.
3. Mask the surface
We promise this is the final preparation step. If you want not only to improve the overall aesthetics of your home but also to create a new design, then the chances are that you won’t paint it entirely in a single color. This means that there will be some areas that you will have to cover to prevent the paint stains from happening.
When it comes to this step, you should use high-quality masking tape on the edges that you don’t want to paint, such as the door and windows. Once you are finished with the work, make sure to remove this tape while the color still hasn’t completely dried. If you were to wait too long, you would run the risk of breaking the paint in the surrounding area.
4. Start with a primer
Now that you have cleaned everything and filled all the voids, it is time to finally begin painting. But still, you have to apply a coat of exterior-grade oil-based primer. Why? Well, the primer will act as a seal, meaning that it will create a sort of protection from air and moisture, ensure that the wood remains of top quality.
5. Paintbrush or a sprayer?
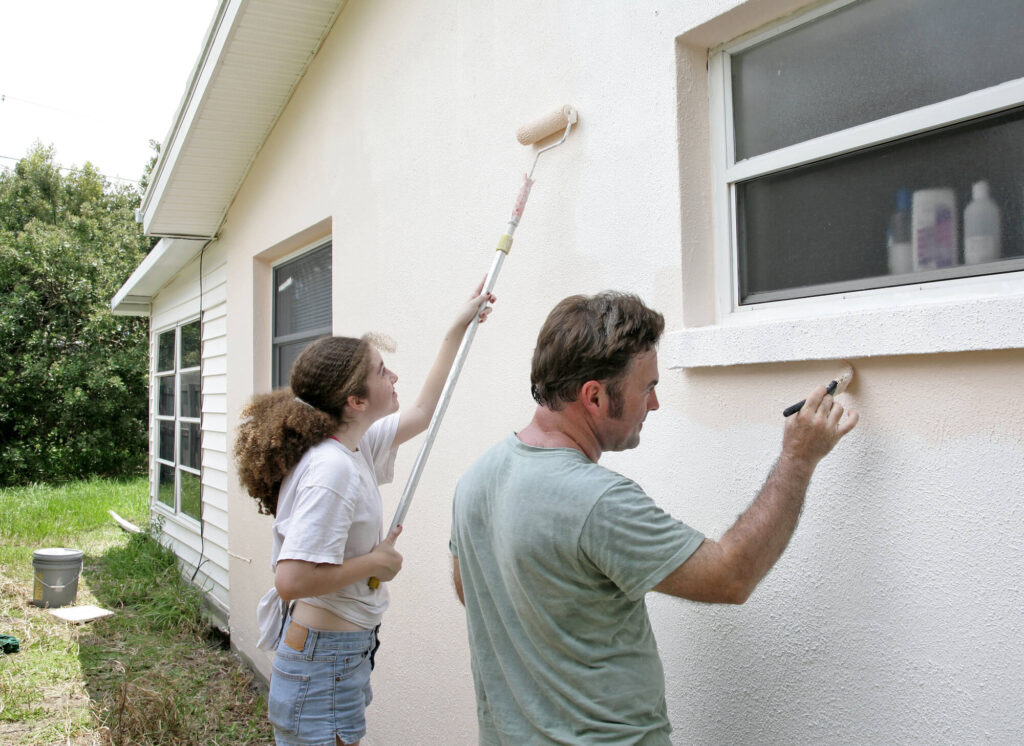
This is a common dilemma that homeowners face nowadays. Due to the fact that there are numerous sprayers available on the market right now, and also the fact that they are advertised as a more convenient tool, most people choose them without really thinking about the pros and cons.
Yes, by using this tool you will probably cut down the time significantly, but still, you should consider going with a regular brush and roller instead. Why? Well, first of all, yes, these will allow you to cover a large surface, but at the same time, you will have to protect every inch that you don’t want to paint. This is just another tiresome, boring task that you have to complete if you go with a paint sprayer.
6. Be smart of the season
This tip might seem odd, but you would be surprised to learn how many people opt for this task during a completely wrong time of the year. If you make this mistake, you will have to fight with natural elements and weather, and unless you are extremely lucky, the chances are that you will lose this battle. You cannot stop the rain, right? To avoid this complication entirely, make sure to consider weather conditions in your area, and don’t forget to check the weather forecast for the next week or so. The last thing that you want to do is to work against the clock and be forced to rush everything.
7. Do some landscaping
This is a task that might seem unnecessary, but let us explain. When you start painting the exterior of the house, you will need enough space to move freely around it and reach all the areas. Tree branches and bushes cannot only complicate this task but also make it impossible. Due to this reason, you should think about trimming some of it, just enough so that you would have enough space to work and not worry about tripping and injuring yourself.
8. Consider hiring professionals
This is the final tip that we have for you, and some people might argue that this is a waste of money because this is a simple task that anyone can complete. Generally speaking, they are right, but still, you will have to climb the ladders, so if you are not skillful, you run the risk of falling and injuring yourself. On the other note, you might not have enough time on your hand to completely dedicate to this project, but you still want everything to look perfect. If this is the case, you should visit the SolidPainting website, learn about the services professionals can provide you with, and think about hiring them.


