Anyone interested in improving their living space, whether a first-time homeowner, a DIY master, or a seasoned professional, should know the appropriate way to paint a room.
After all, it causes little to no discomfort, costs little money, and can be easily fixed if something catastrophic goes wrong. Before grabbing the paint roller and slapping on the first coat, it helps to have a plan. Remember that you will be staring at these walls for quite some time. Here are a few suggestions for getting started on your new wall color.
Make a Plan for Your Approach
Start by visualizing how you want everything to turn out, and keep in mind that you can paint all four walls or an entire room with the same color. For example, you could choose to pair it with the curtain you have in your room to make it look more elegant or continue if you have a particular motif in mind that you want to follow.
Think about painting an accent wall in a daring color or accentuating moldings in a contrasting shade or finish. These are options to consider. Also, remember to glance up at the ceiling and determine whether it may need some new paint.
If the walls in your home require a new coat of paint, they likely last had touch-ups quite some time ago. Before adding additional paint to these imperfections, fill in any holes and clean any stains or marks.
Protect Areas That You Don’t Want to be Painted
Once you are satisfied with the condition of your wall, cover the baseboards and other locations with painter’s tape. These areas include moldings, door and window casings, light fittings, and switch plates.
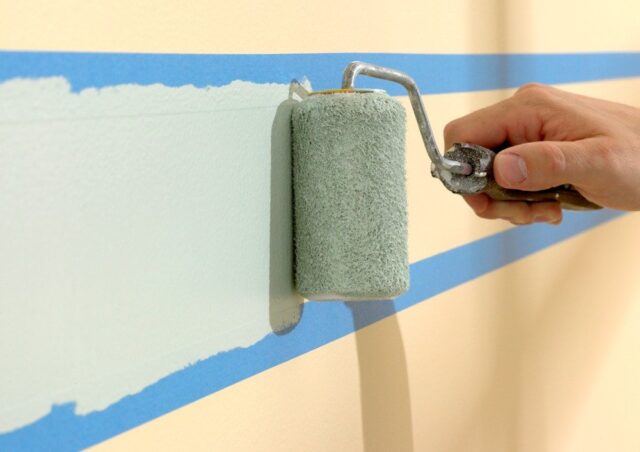
Be sure to protect any valuables that are close as well. Next, either remove the furniture from the room entirely or move it to a central area within the room and then cover it with a tarp made of canvas or plastic. Using a drop cloth protects the flooring.
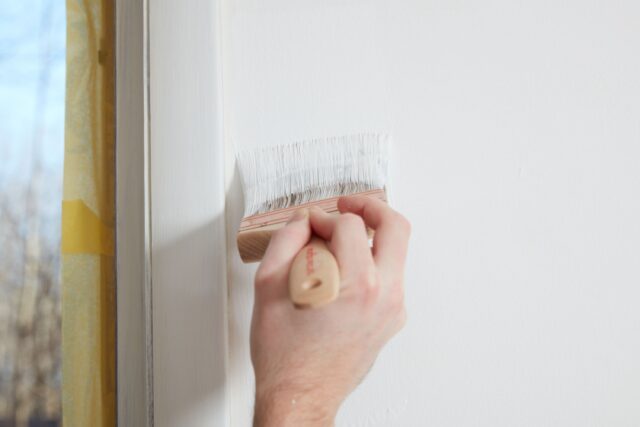
Priming Time
Using a primer, you may achieve a more polished look and get more use out of your paint job. Use a little primer layer before painting the entire surface. Use the tip of your paintbrush to get into tight spaces.
It would help if you waited a few hours before painting over it. If you want a bright and uniform finish, especially if you’re painting over a darker hue, resist the urge to skip the priming stage.
Fill Your Paint Bucket
Open the paint container and pour the contents into a tray. The tray’s ramp helps disperse the paint evenly on the roller. Use a roller screen with the 5-gallon bucket for more substantial work.
Different manufacturers’ paints may have slightly different hues. Therefore, decant paint into a smaller container or tray to mix before you start painting. This advice might save your sanity if you’re trying to decorate and avoid making a huge mess.
To make cleanup easier, line the roller tray with aluminum foil before adding paint, and then pour the paint in. You may recycle the aluminum foil and return any leftover paint to the container to dispose of without using a ton of water.
Begin Painting at the Top and Work Your Way Down the Wall
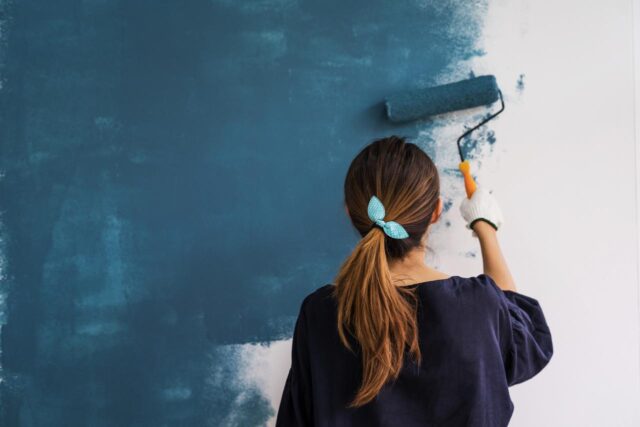
Whether priming or painting, starting near the ceiling will yield the greatest results. Install the architrave and ceiling first. Then, roll the paint onto the walls starting at the ceiling. Lastly, install the woodwork and the skirting.
Not getting the optimum coverage is possible if you toss your roller about. Do it if you want to paint the wall in a W shape. Move on to the next area in the same manner, but this time go over the W with an M shape to fill in the gaps, then reload your roller.
Use a Wet Edge
You should always retain a moist edge while painting the ceiling or walls. It implies that you shouldn’t let the paint dry on the “cut-in” areas before rolling it back in vertically. Working in manageable chunks is essential for this reason.
You will be able to see the areas where the cut-in paint was applied through the remaining paint if you do not wait until after the remainder of the wall has been painted.
At a minimum, you should give the walls two hours to dry after painting them. Put most of your effort into considering what you will do with the wall once it has had enough time to dry completely. You can have a floating desk installed and a portrait of yourself, your family, or loved ones who have passed away.
It is possible through the website https://memorialize.art/, where you can submit a request by sending the photo you want to have painted into a portrait, and the finished product can then be hung on your walls. It is a feasible technique to create a memory of you and the people you care about while at the same time preserving the aesthetic of the wall that you paint.