
Having a good aerial in your home will make the difference between you having a great signal and accessing all the channels you want, or bothering and losing the signal every time there is a rain or wind outside. There are a lot of different types of TV antennas out there, and it is said that there are both positive and negative sides of each. When it comes to indoor aerials, they are usually cheaper, and you are free to move them around with ease, but they are not great if the broadcasting tower is not near you. On the other hand, outdoor units, are great if you want to have a better signal, and if you want to install it once and forget about it.
In this 2024 DIY guide, we are going to help you learn how to install the outdoor TV aerial and we will help you find out the basics of this project. Note that even though this is not a complex process, you need to make sure you are doing everything correctly and that you wear safety equipment. Installing an outdoor device, usually means that you will have to work at heights, so if you are not sure you can get the job done without risking your safety, it is always better to leave this project to the professionals. If you want to learn a new skill, and if you want to find out how to install the device without any issues, continue reading!
How to start?
To successfully install an aerial in your home, first, you need to go and do some shopping. You will need to purchase the right unit for your personal preferences. Nowadays, there are dozens of different models, and they offer different features for different prices.
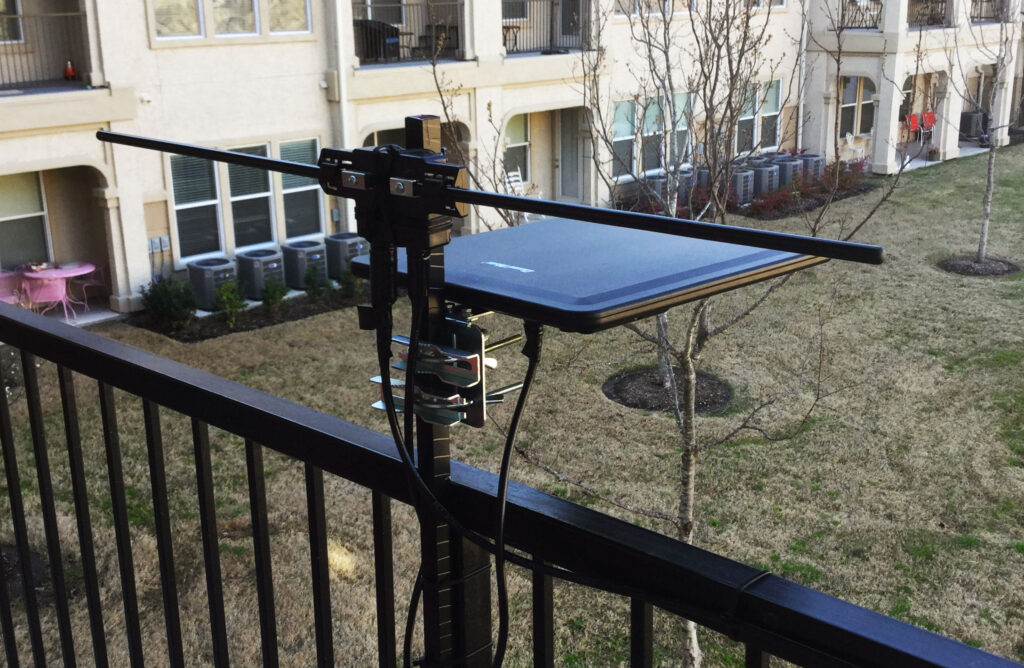
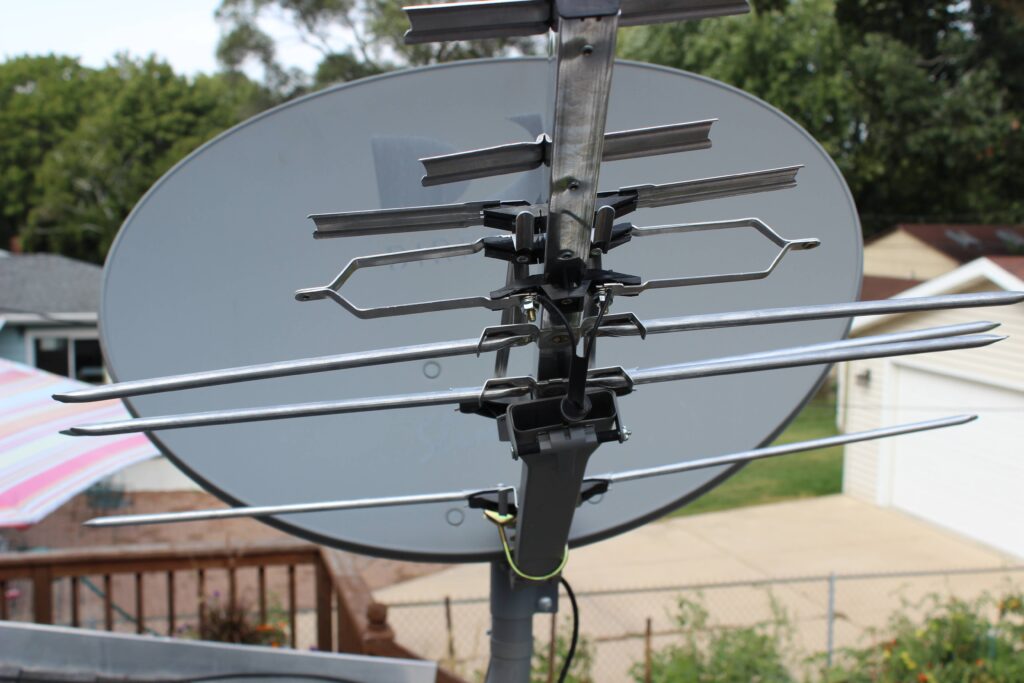
Know that these units are usually mounted on the outside wall of the house, or they are placed on the roof. They are a lot bigger than the indoor devices, and they will give you a better signal. It is said that the best models are the multidirectional ones, so you don’t have to worry about placing the aerial in the right direction.
You can also choose between getting a unit that has a built-in amplifier or without one. Some users suggest that the amplifier won’t make a lot of difference and that you may even experience issues with it. On the other hand, others say that with an amplifier you will get a better signal and more channels. Depending on the exact model you choose to get, it is better if you consult the seller and the professionals about the right unit for your case. Know that you can also get some advice from professional services, and TaylorAerials.co.uk suggests that you can even get the unit installed by a service when you choose to collaborate with the professionals.
DIY installation process
The first thing you need to do with any new unit is to read the installation manual that is provided by companies such as tv-aerials-uk. Even though most devices should be mounted in the same way, there might be a slight difference depending on the model. Plus, when you check out the manual, you will get exact instructions that will show you where every little screw and bolt should be placed, so you won’t have to worry about a thing.
Once you’ve done that, you should have some idea of how the whole process should be done. Now we are going to give you some notes on how you should do things, that are used for pretty much every model for outdoor aerials.
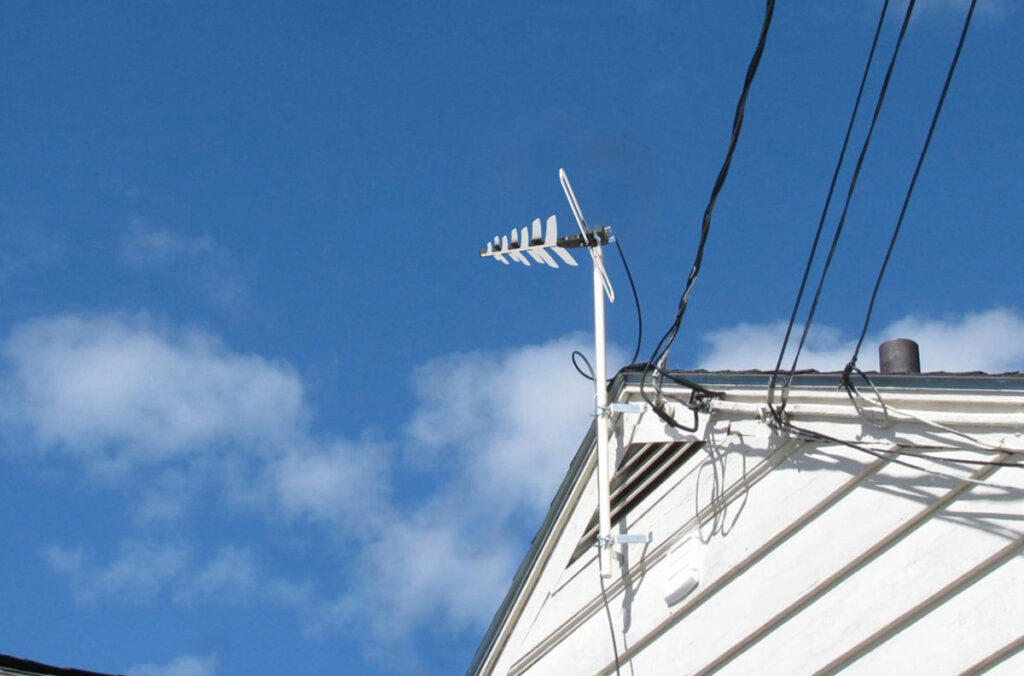
First, you will need to install the bracket on your roof or the outside wall of your house. Choose the position carefully, and if you are not using a multidirectional device, you will need to place it in a way that the antenna faces the broadcasting tower. Experts suggest that you should protect the bolts from the weather by putting silicone caulk on them.

Next, you will need to assemble the unit itself if needed. For this, you should look at the manual and follow the recommended steps. Make sure you pay attention to where every little thing should be put and know that in some cases, you will get additional screws in case you lose one.
For your next step, you will need to install and secure the antenna pole. The only thing you will need to do is slide this part in the sleeve and secure it in place. Make sure it is secured tightly and that it won’t move around if there is high wind. Know that even though you should secure it tightly, you should never screw the bolts too tight. The first reason is that if you apply too much pressure, you risk damaging them, and the second one is that you may want to change the position, later on, so you wouldn’t want to bother with bolts that are too tight.
Position the aerial in place, and test things out. See if it is working, and don’t forget to tune in your TV and search for all the channels. If needed, reposition it, and turn the amplifier on or off. Once everything is set and everything is working correctly, you will need to put all the wires in place and make sure they are protected.
The final step is grounding, and experts say that this is the most important one. You need not only to ground it correctly, but you will need to make sure that you are following all the regulations and guidelines. You should use a grounding block and it is recommended for you to use a coaxial cable that will help you get all the channels in every room of your house.
These are all the steps that you should follow to make sure your outdoor aerial is mounted correctly. Double-check your steps, and always be extremely careful when working at heights. If you are unsure of how to do things, or if things don’t seem to be working, you can always consult with a professional service. Know that if you are not getting all the channels you want, you may need to reposition the antenna and, in some cases, you will need to consult your provider and see if their signal is strong enough for your location.


