
Cleaning and caring for your vape kit is an important aspect of owning a vaping device. Keeping your vape kit clean not only extends its lifespan but also ensures that you get the best vaping experience possible.
A dirty or poorly maintained vape kit can cause a range of issues, from poor flavour to decreased performance. In this guide, we’ll discuss the steps you need to take to properly clean and care for your vape kit.
Step 1: Gather the necessary supplies
Before you start cleaning your vape kit, you’ll need to gather some supplies. Here’s a list of what you’ll need:
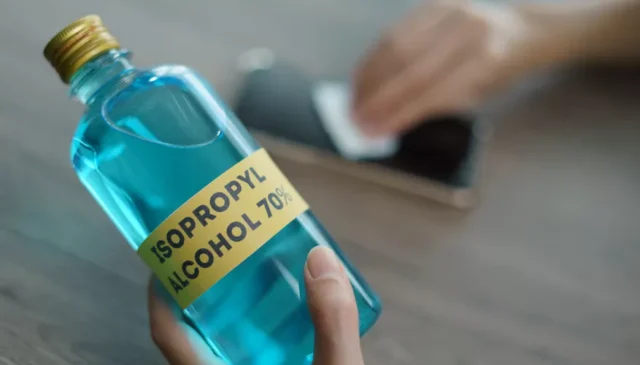
- Isopropyl alcohol (at least 70%)
- Soft clothes or paper towels
- Cotton swabs or Q-tips
- Toothbrush (optional)
- Air compressor (optional)
Step 2: Disassemble your vape kit
The first step in cleaning your vape kit is to disassemble it. This will make it easier to access all the parts that need to be cleaned. If you’re unsure how to disassemble your vape kit, consult the manual or the manufacturer’s website. Once you have all the parts disassembled, you’re ready to start cleaning.
Step 3: Clean the mouthpiece
The mouthpiece is one of the most important parts of your vape kit, as it’s where you inhale the vapour. To clean the mouthpiece, simply wipe it down with a soft cloth or paper towel dampened with isopropyl alcohol. If the mouthpiece is particularly dirty, you can soak it in isopropyl alcohol for a few minutes before wiping it down.
Step 4: Clean the tank
The tank is another important part of your vape kit that needs to be cleaned regularly. To clean the tank, first, remove any e-liquid that’s still inside. Then, disassemble the tank and wipe down each part with a soft cloth or paper towel dampened with isopropyl alcohol. If there’s any build-up on the tank, use a cotton swab or Q-tip to remove it.
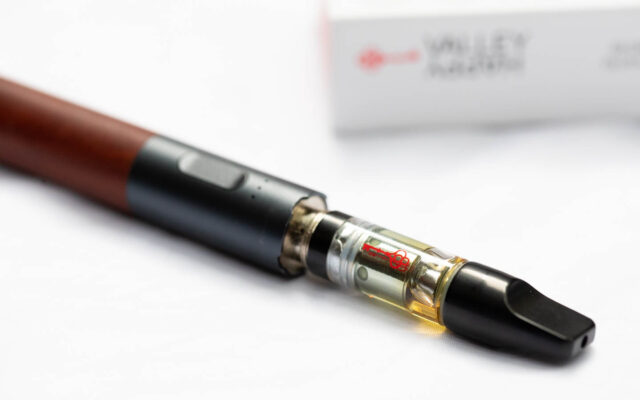
Step 5: Clean the coil
The coil is part of the vape kit that heats the e-liquid to produce vapour. Over time, the coil can become dirty and clogged, which can affect the performance of your vape kit. To clean the coil, simply soak it in isopropyl alcohol for a few minutes. Then, use a cotton swab or Q-tip to clean any build-up or residue. If the coil is particularly dirty, you can use a toothbrush to scrub it gently.
Step 6: Clean the battery
The battery is another important part of your vape kit that needs to be cleaned regularly. To clean the battery, simply wipe it down with a soft cloth or paper towel dampened with isopropyl alcohol. If there’s any build-up or residue on the battery, use a cotton swab or Q-tip to remove it.
Step 7: Reassemble your vape kit
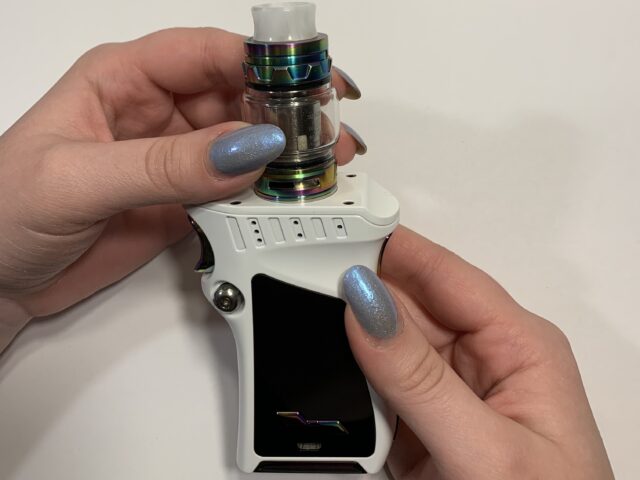
Once you’ve cleaned all the parts of your vape kit, it’s time to reassemble it. Make sure to put all the parts back in the correct order, and tighten any screws or connections securely.
Step 8: Store your vape kit properly
When you’re not using your vape kit, it’s important to store it properly. This will help to protect it from damage and keep it in good condition. Store your vape kit in a cool, dry place, away from direct sunlight and heat sources.
Step 9: Regular maintenance
In addition to cleaning your vape kit, there are a few other things you can do to keep it in good condition.
Here are some tips for regular maintenance:
- Replace the coil regularly: The coil is part of the vape kit that gets the most wear and tear, so it’s important to replace it regularly. The frequency with which you need to replace the coil will depend on how often you use your vape kit and the type of e-liquid you use. As a general rule, you should replace the coil every 1-2 weeks.
- Keep your e-liquid levels topped up: Running low on e-liquid can cause damage to the coil, so make sure to keep your e-liquid levels topped up.
- Avoid over-tightening the tank: Over-tightening the tank can cause damage to the gasket or the threads, which can cause leaks. Make sure to tighten the tank only as much as necessary.
- Use the right type of e-liquid: Different types of e-liquid can have different effects on your coil. Using the wrong type of e-liquid can cause damage to the coil or affect the performance of your vape kit. Make sure to use the type of e-liquid recommended by the manufacturer.

Source: moreishpuff.com
- Avoid using your vape kit when it’s low on battery: Using your vape kit when the battery is low can cause damage to the battery or the coil. Make sure to recharge your vape kit when the battery is low.
By following these tips and regularly cleaning and maintaining your vape kit, you can ensure that it lasts as long as possible and gives you the best possible vaping experience.


